Logging in
The first step to editing your website is to log in, to do this, first scroll to the bottom, somewhere in the footer, there will be a link that says “Log In”
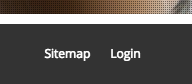
Clicking on this will get you through to the login page, here you can enter in the details we have provided, once you have done so, click the “Log In” button underneath the fields, and you will be logged in on the website, this will add a few extra options.

Using Ark Editor
The first editor I will show you is the Ark Editor, this is a new, very easy to use inline editor, as soon as you are logged in, you will be able to access this one, as indicated by a little tab on the right hand side of the page.
First, click on the tab to expand it, this will give you three options, Save, New and Enable.
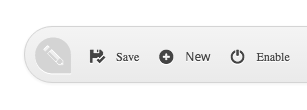
Save is used to save your work and refresh the page.
New is to create a new article.
Enable is to turn the inline editing on, this is the main function you will be using on this toolbar.
Once you click enable, you will be able to click in any area of text on the website, this will open the editor, opening a toolbar at the bottom or top of the field of text, You will be able to edit the text in the field like you’d edit text in a word processor, adding and deleting text, adding new headings, inserting images and links.
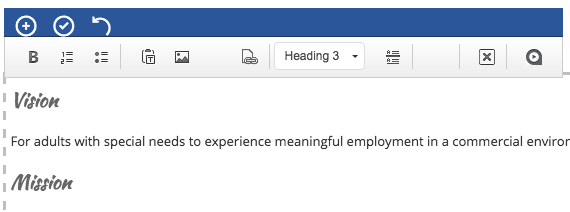
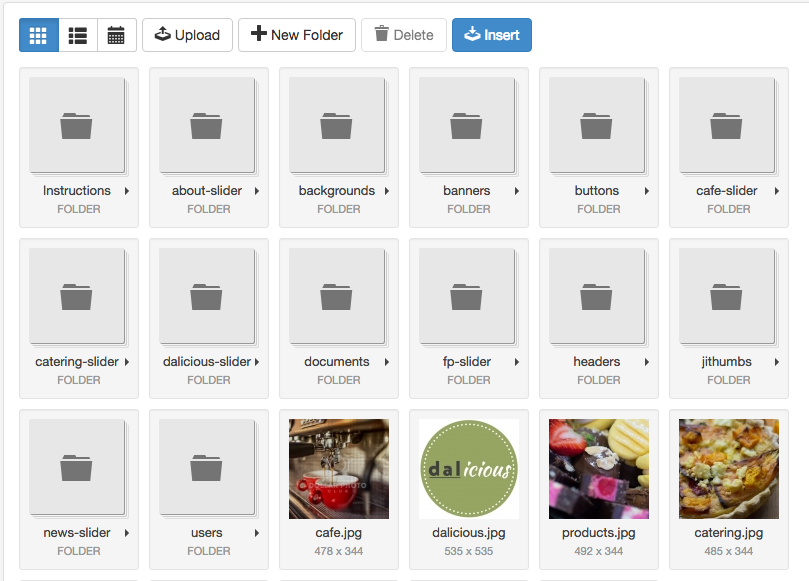
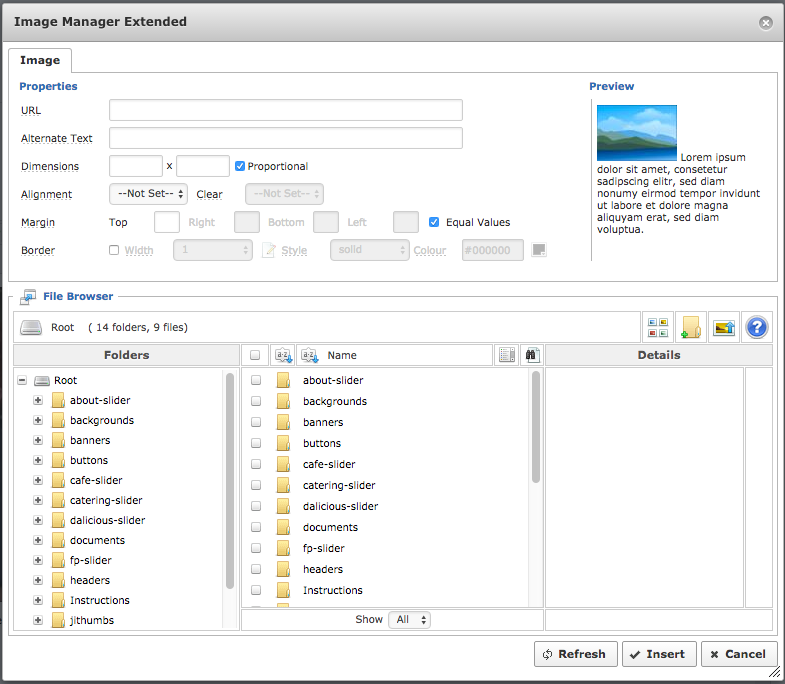
Clicking on the image icon (It looks like a picture frame with some hills) will open up the image editor, this allows you to choose, upload, and manage images.
Clicking on the link icon (It looks like a small chain), will open up the links page, allowing you to create links between pages, or to external URLs.

Using the frontend editor
To access the frontend editor, go back down to the bottom where the “login” link was, there will be a link labelled “Show all Articles”, click on this.

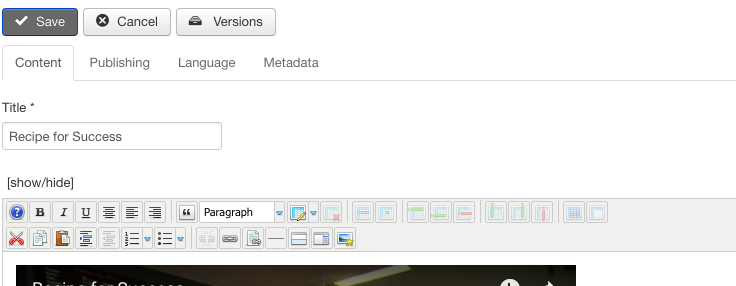
This will take you to a page with a list of articles, you can sort them by category, search by name, order them by date, to edit them, click on the icon that looks like a pencil on a piece of paper, this will take you to the editor.

The editor page gives you all the options you need for modifying articles, you can add and delete text, change heading styles, add lists, insert links, images, files, and change the category.
Clicking on the link icon (The one that looks like a small chain) will allow you to add and edit links to other pages on your site, or to external URLs.

The link next to this, the one that looks like a chain over a document, allows you to upload and create links to files, such as PDF documents.
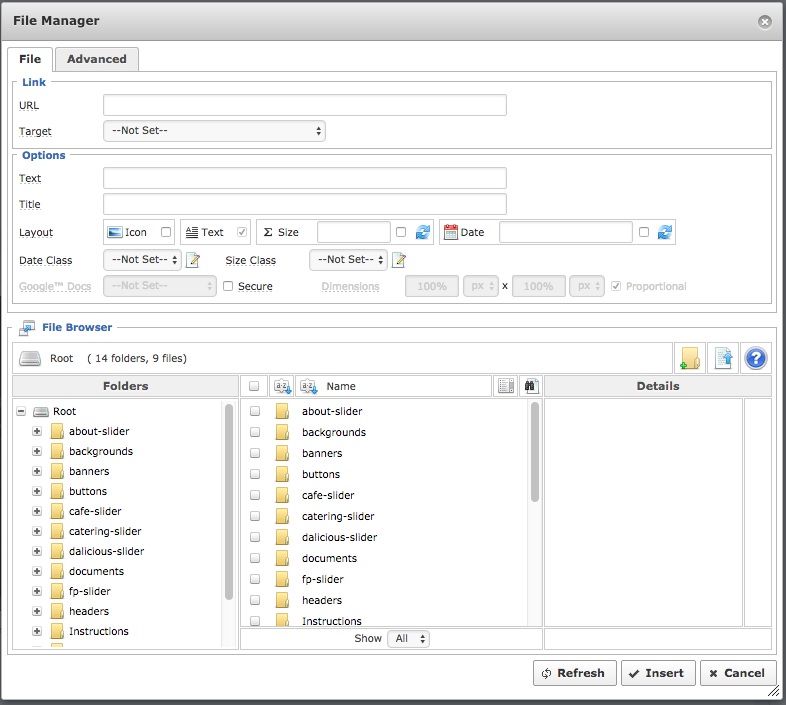
The icon that looks like a picture frame takes you to the image editor, which allows you to upload, manage, and insert images into your documents.
Finally, if you click on the “Publishing” tab, you can change the category of the article.
One important thing to remember is that whenever you are finished with an article, to quit using either “Save” or “Cancel”, if you just close the window or hit back, you can lock yourself out of the article.

Embedding Videos
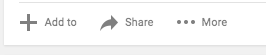
Navigate to the video that you want to embed, below it, you’ll see a link marked “Share”, click this.
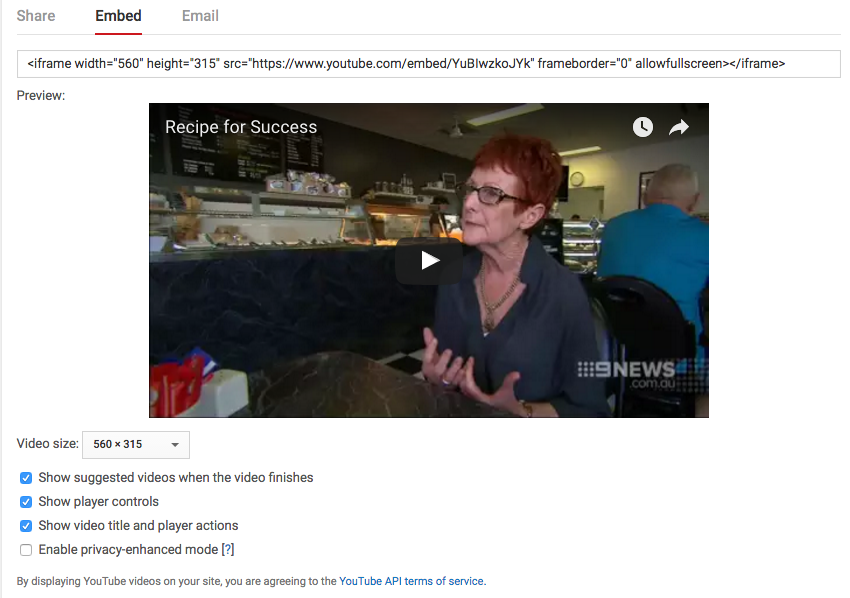
This will open a new tab, which has three options, click “Embed”
Once here, click “Show more” to expand the options, here you can modify all the options for embedding the video, the size, whether it shows the title or controls. Once you have chosen your options. Copy the code from the top and paste it into the article. Wrapping the tags and around the code.
How to make an image with a caption
This is very simple, all you need is a little bit of code, this code will automatically put the image and its accompanying text to the right side of the page, with a border and some padding to make it look nice.
Just put your image in, put the text below it, and put this code ( in the { and } brackets) above and below it.
(Image Here)
(Text Here)
Older articles will still have tables, these can be left as they are, the system automatically applies this formatting to tables and replaces them.
Readmores and Clearing Formatting
I have added a system where you will be able to add a little bit of “Preceding text” that will show up on the blog page, to do this, all you need to do is place a readmore (Click the button that looks like a screen with a line through the middle, 4 from the end on the toolbar) and place your text below it.
Some articles will already have readmores, this is from earlier work done to the site, if the readmores are earlier than the very end of the page, they can cause issues with display on the blog page, selecting them and hitting backspace will get rid of them and solve the problem.
With some existing articles, they still have inline formatting from the original site, this can occasionally be problematic and cause conflicts with the site, if you see a site that has this problem, please hit ctrl-a (To select all) and click the icon that looks like an eraser at the very end of the toolbar, this will clear the inline formatting on the page, don’t worry, the page is set up to do most of the formatting for you.